FAQs
We specialize in creating custom fixtures. If you would like to receive a quote, please email us at info@sanicanada.com. We will provide you with a template to fill out. Once you have completed the template, please scan it and send it back to us along with your technical requirements for review.
We appreciate your understanding that all custom hand -made orders require 30 business days for production, followed by a delivery timeframe of 15 to 30 days via LTL,ground shipping due to the for example delicate nature of glass or vanity. Please note that we currently do not offer espress international shipping. Additionally, while we strive to provide timely service, express shipping options are unfortunately not covered by insurance, and we are unable to offer replacements in such cases. Thank you for your understanding and support!
SPECIFICATIONS
waterproof level: IP56
heating time: 5 min
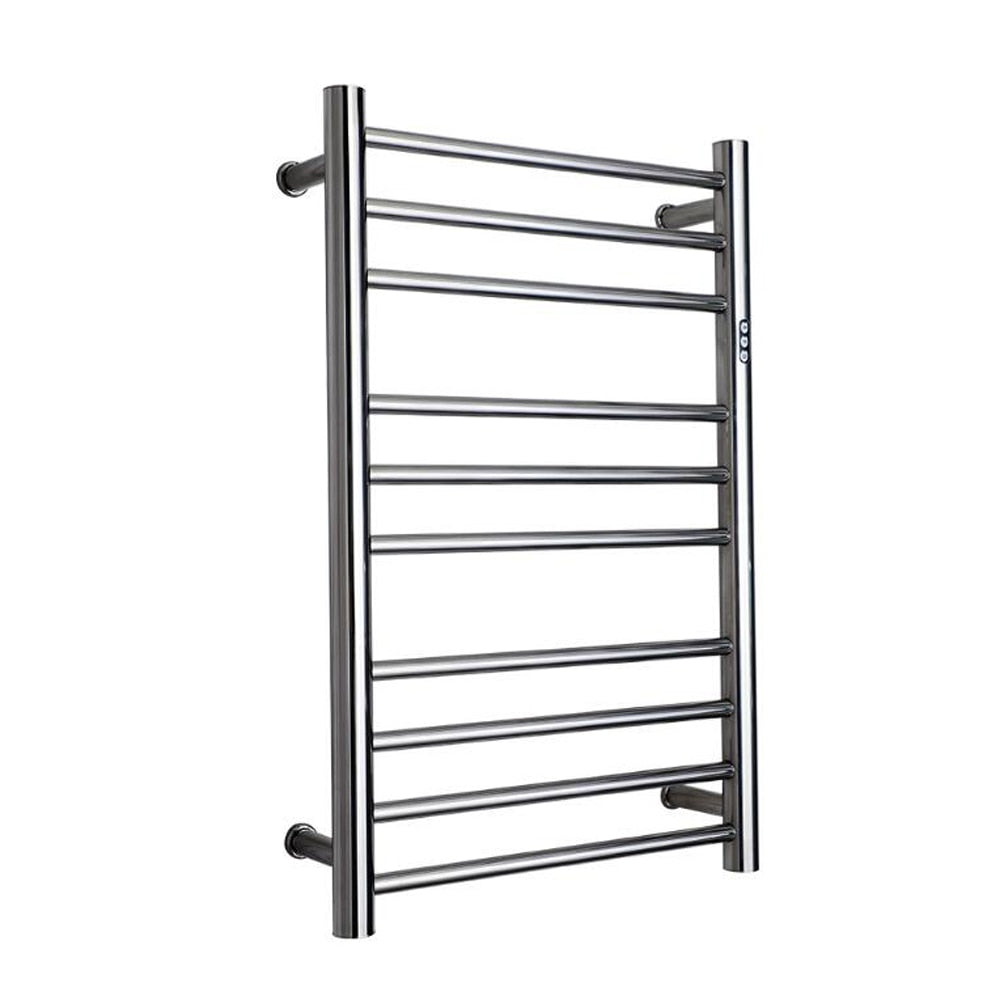
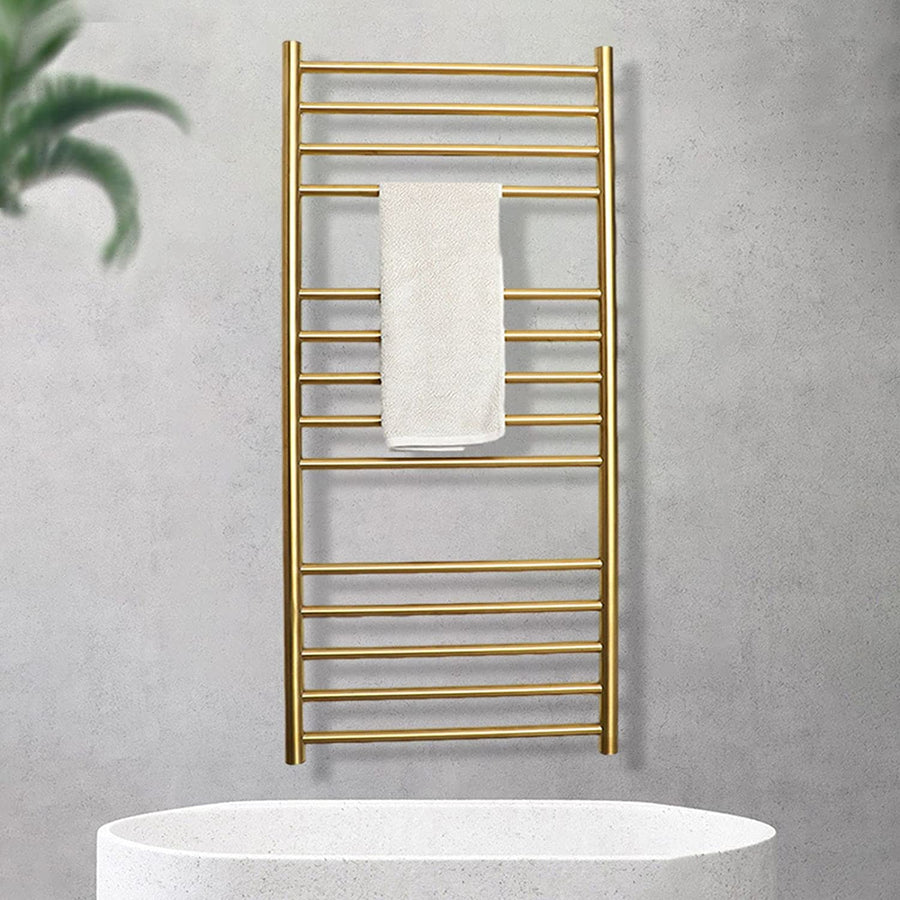
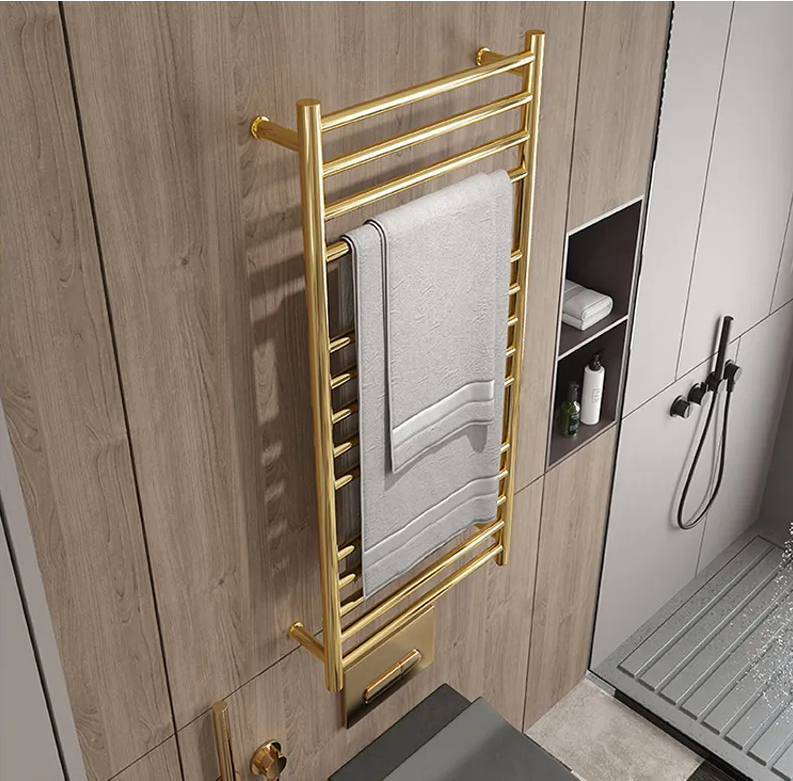
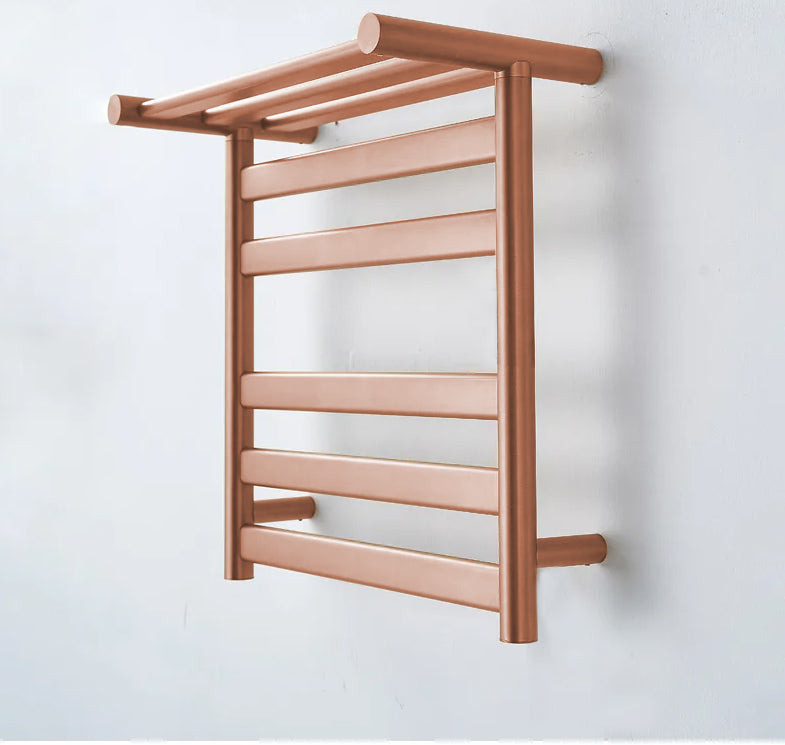
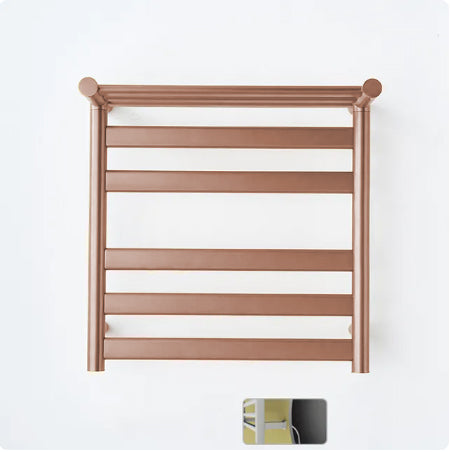
Type: Bathroom 304 Stainless Steel Heated Towel Warmer
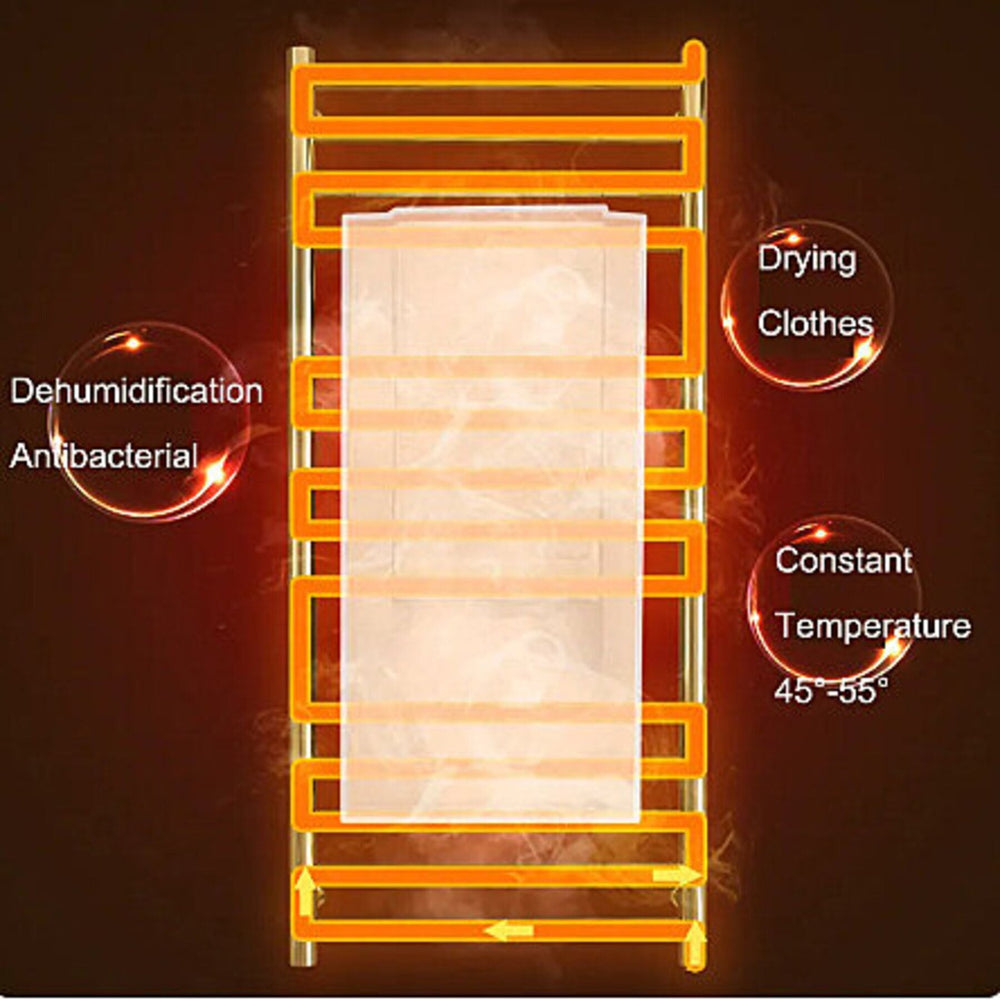
Temperature: 45-55℃
Size: L
Power: 88W
Plug type: USA
No. of Tiers: Five Layers and Above
Model Number
Metal Type: Stainless Steel
Material: Metal
Installation Type: Wall Mounted Type
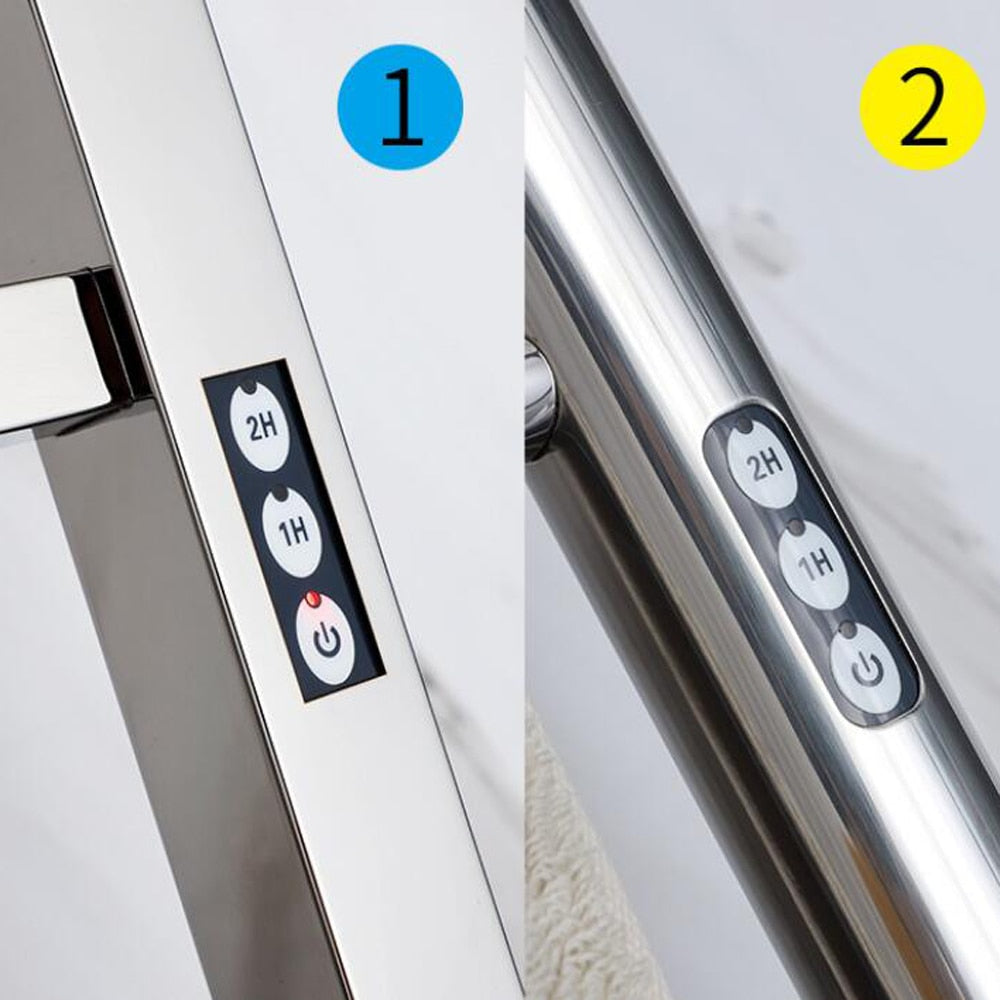
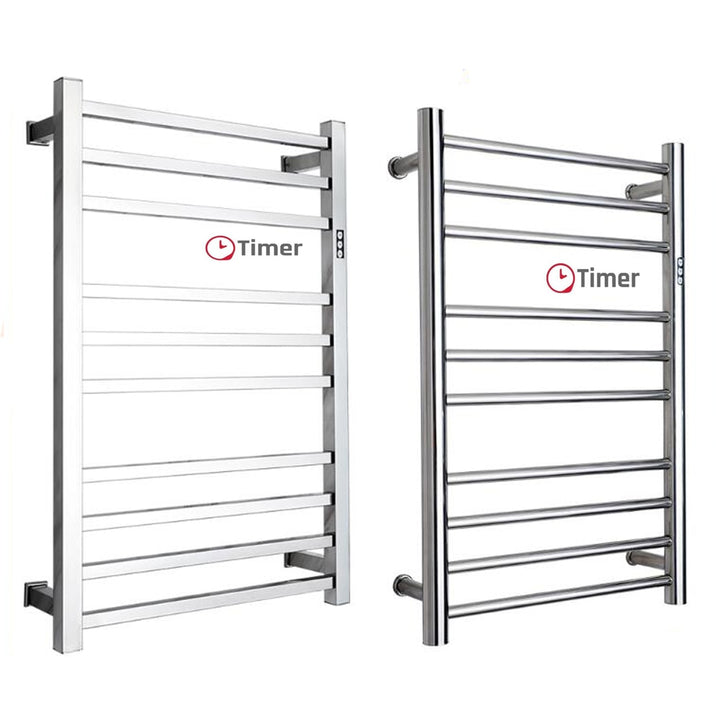
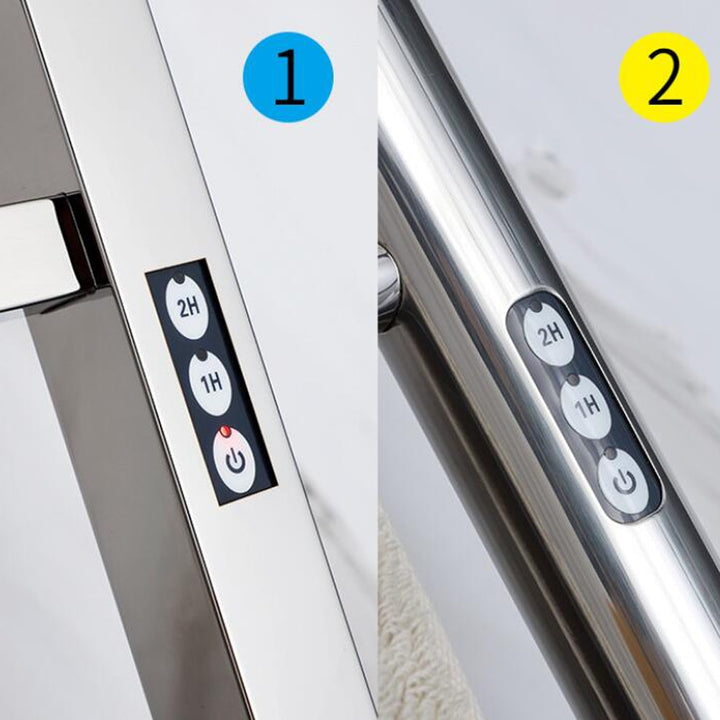
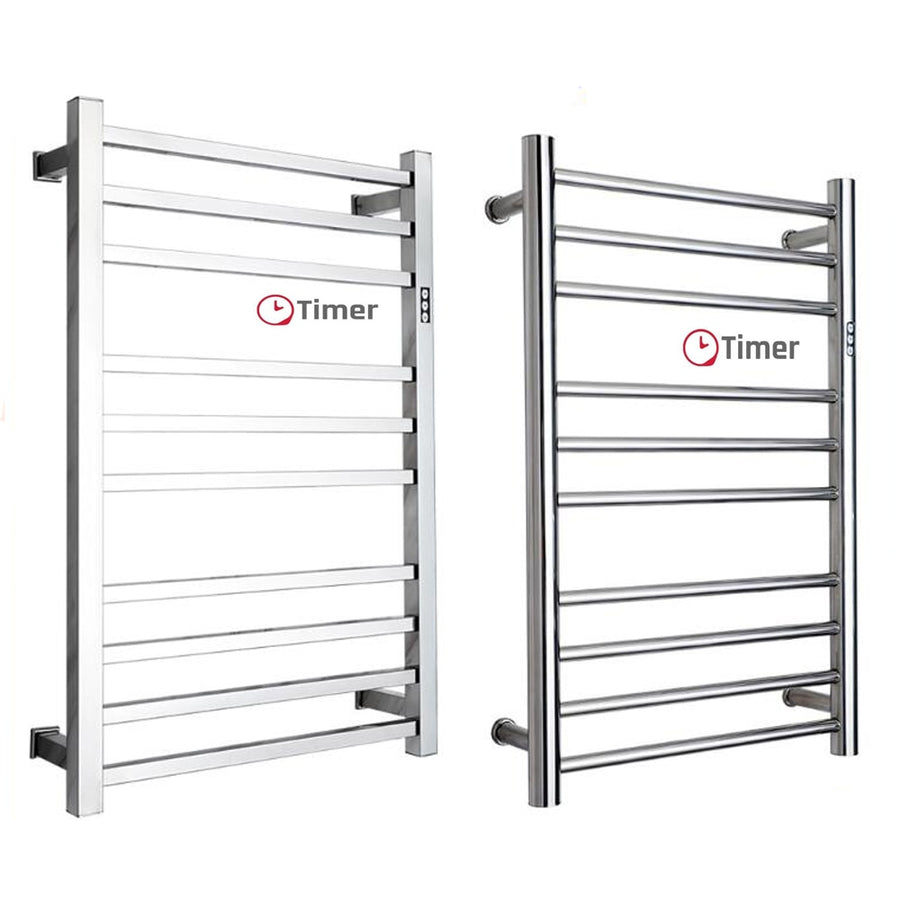
Features: with Timer
Feature: Eco-Friendly
Classification: Non-folding Rack
Features:
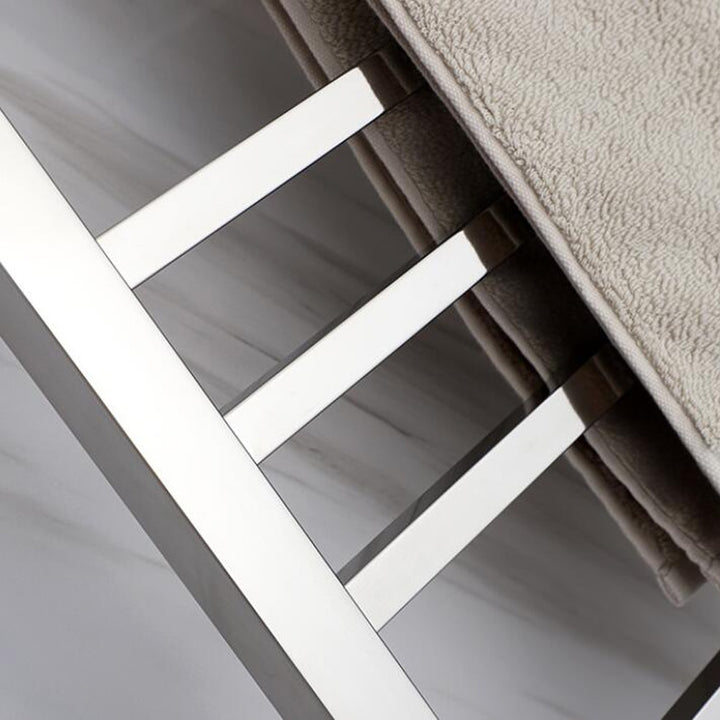
1. Multifunctional towel rack.
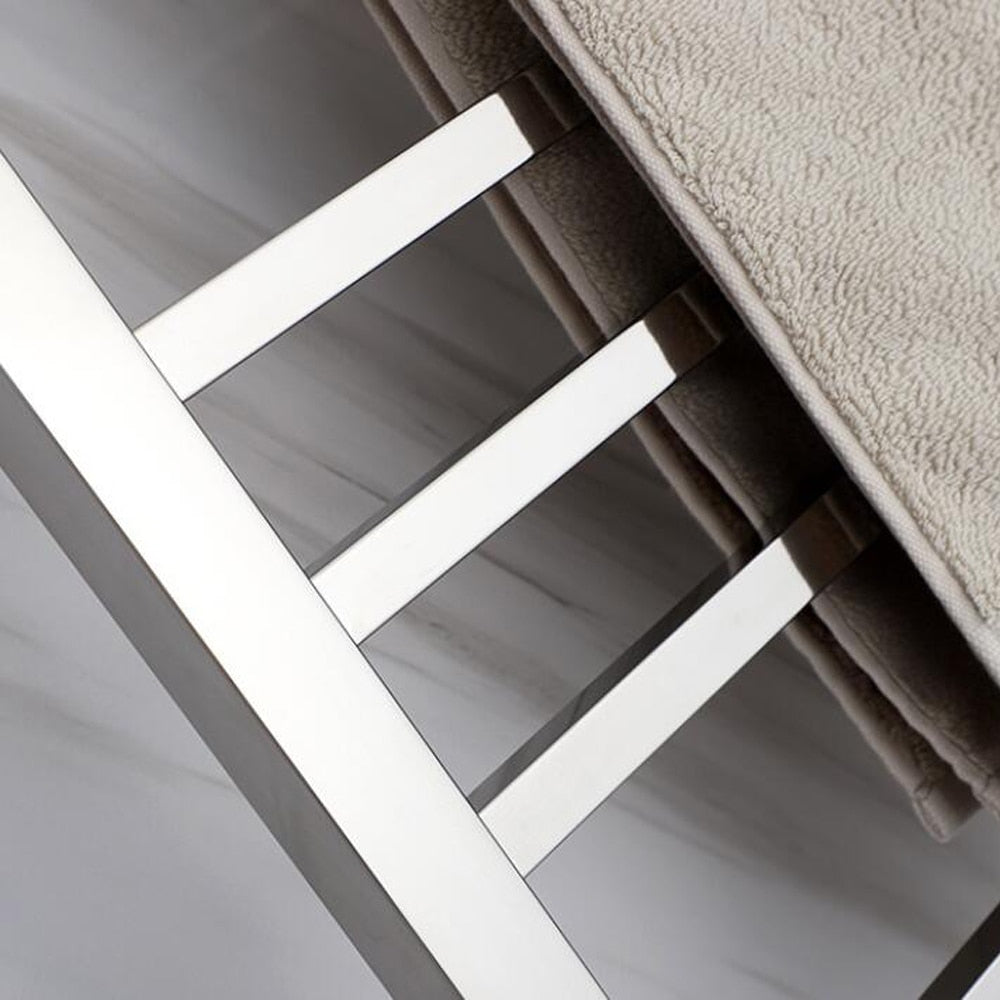
2.304 stainless steel material, waterproof and safe.
3. Quick heat drying, 5 minutes heating.
4. Low energy consumption and power saving.
5. Intelligent constant temperature, will not be hot.
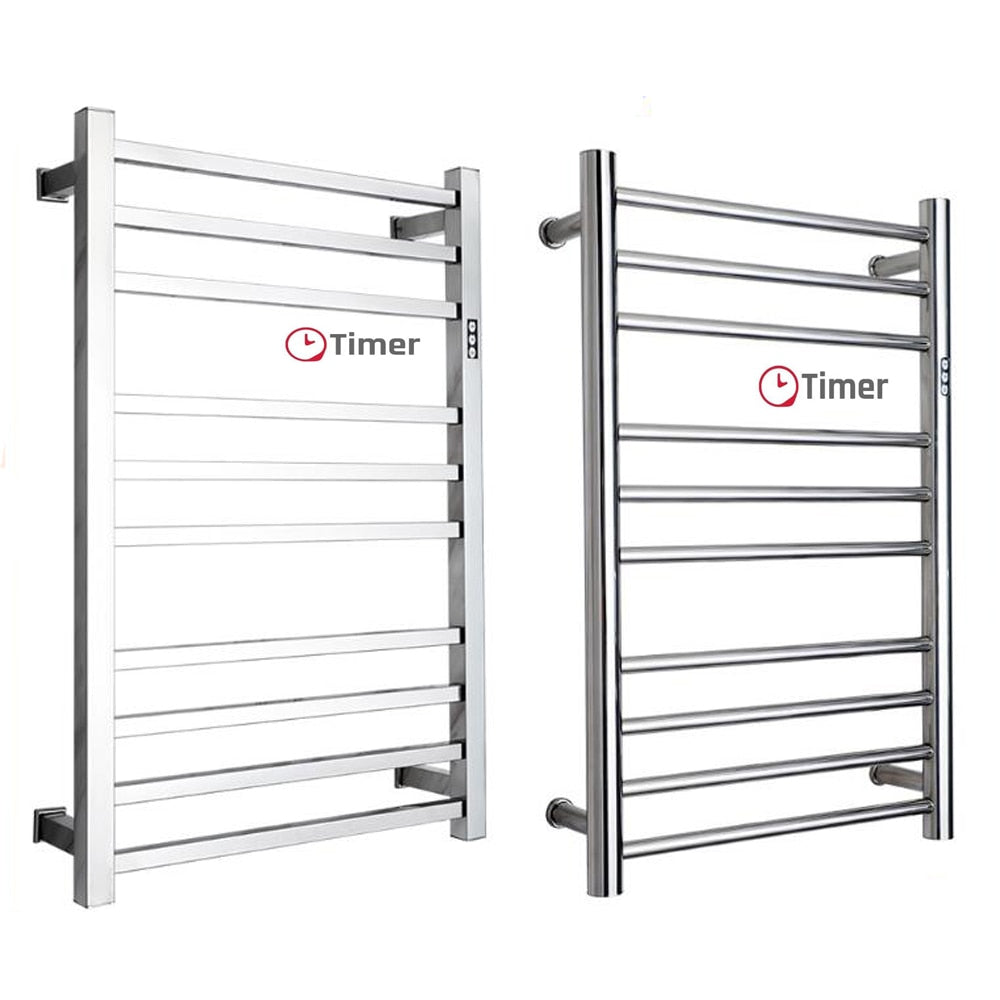
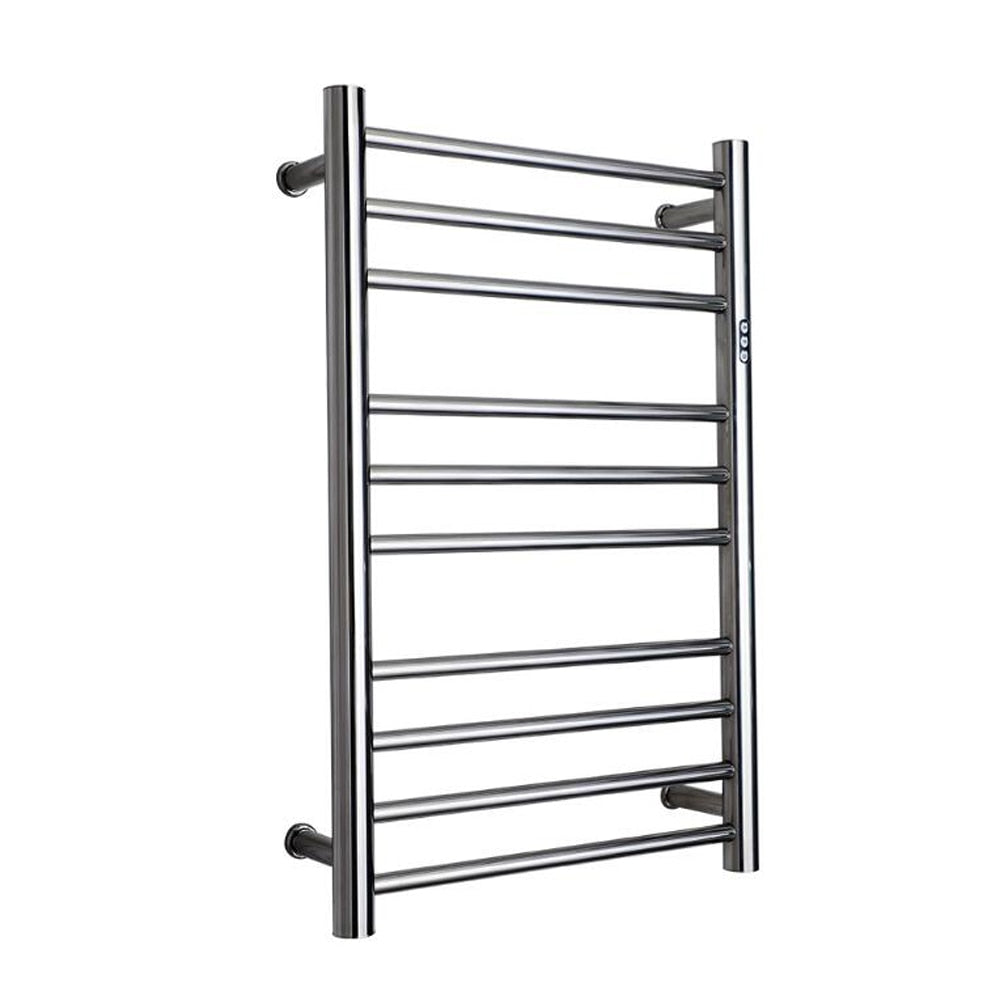
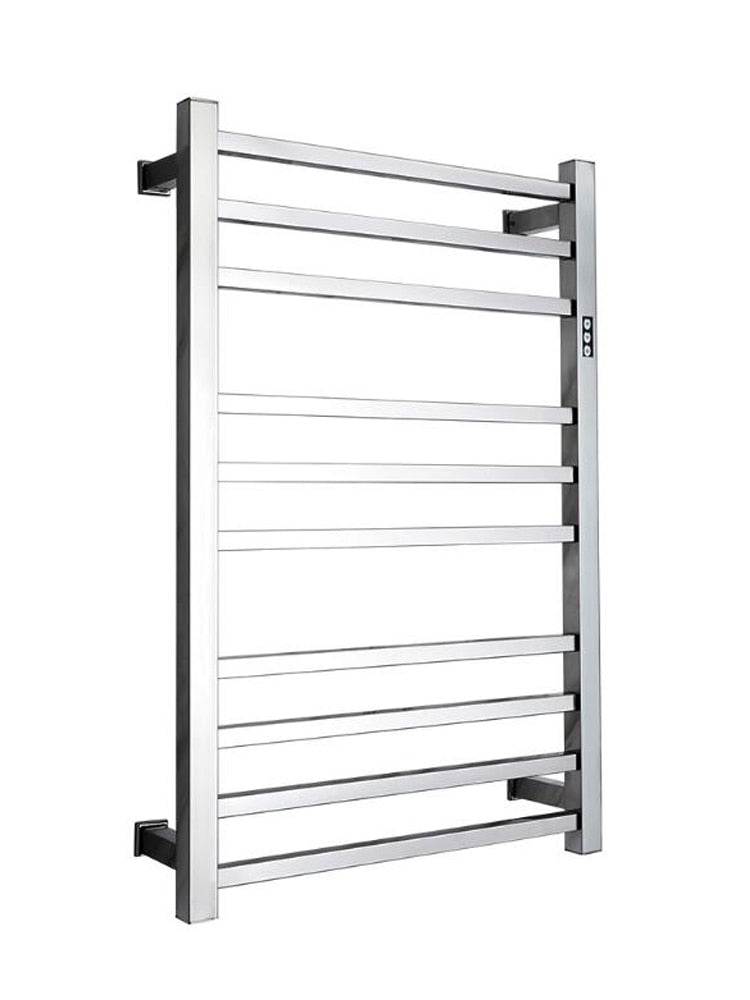
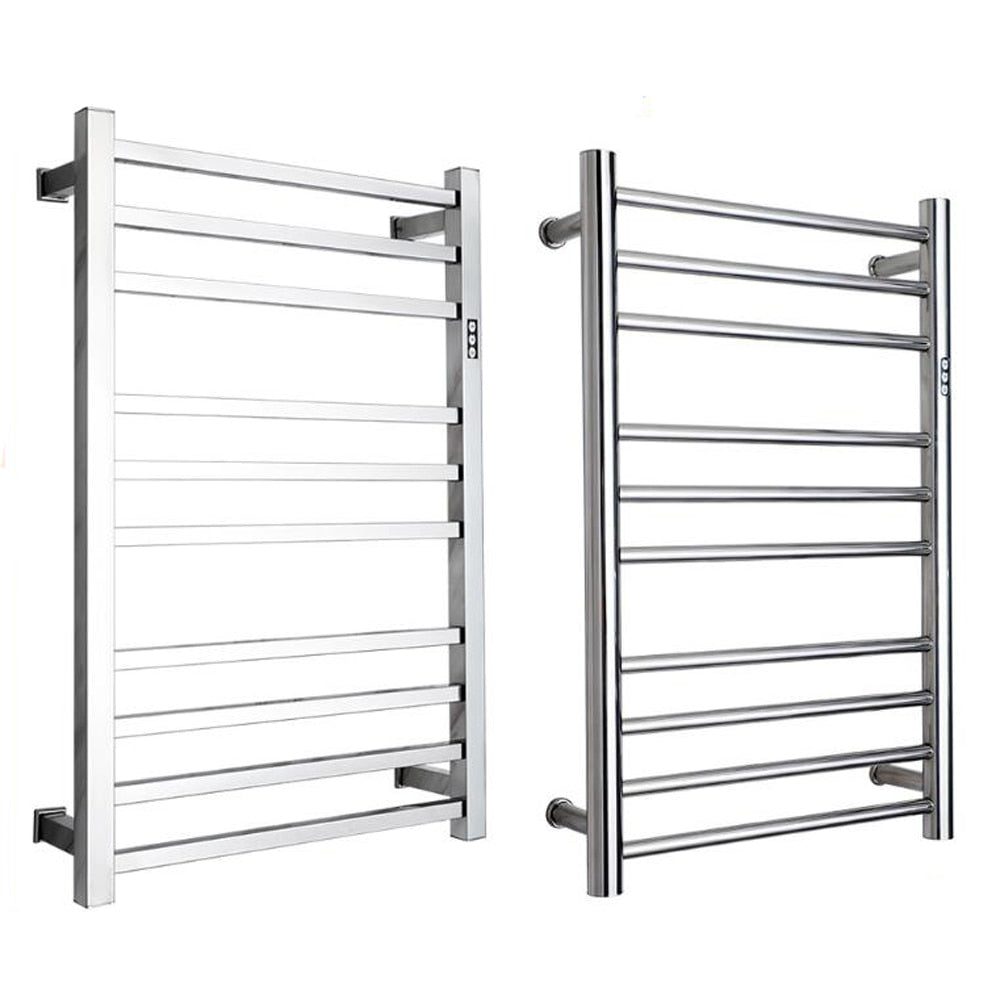
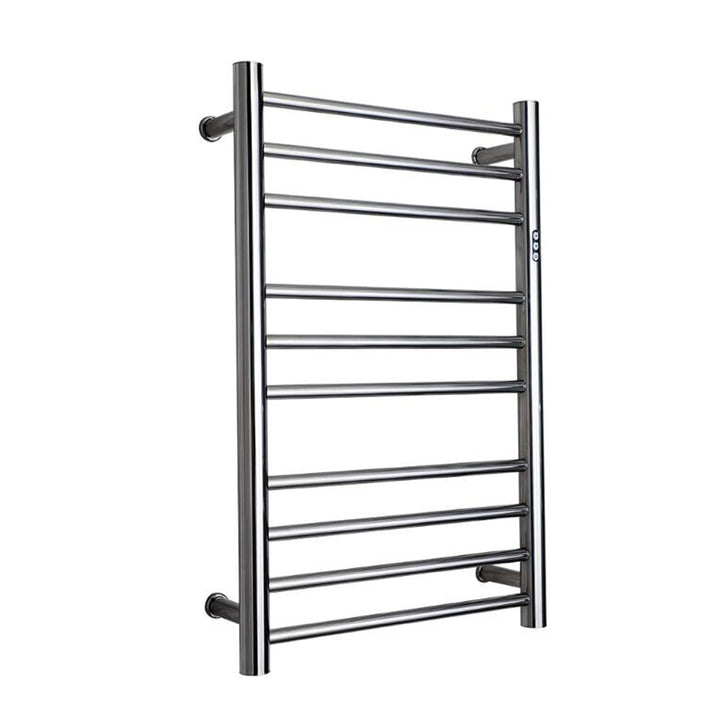
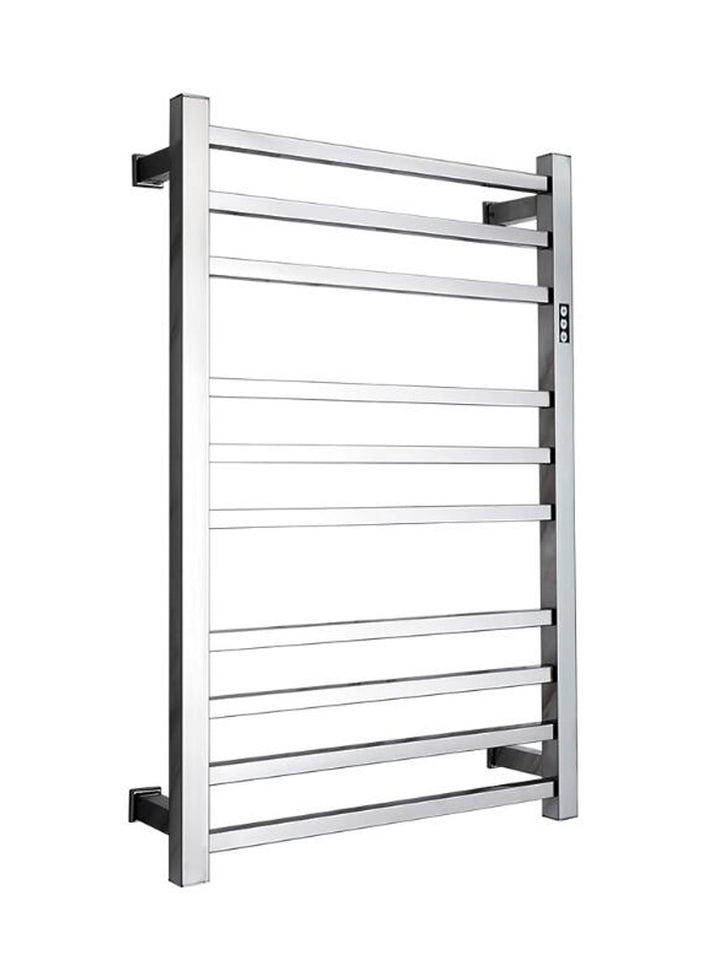
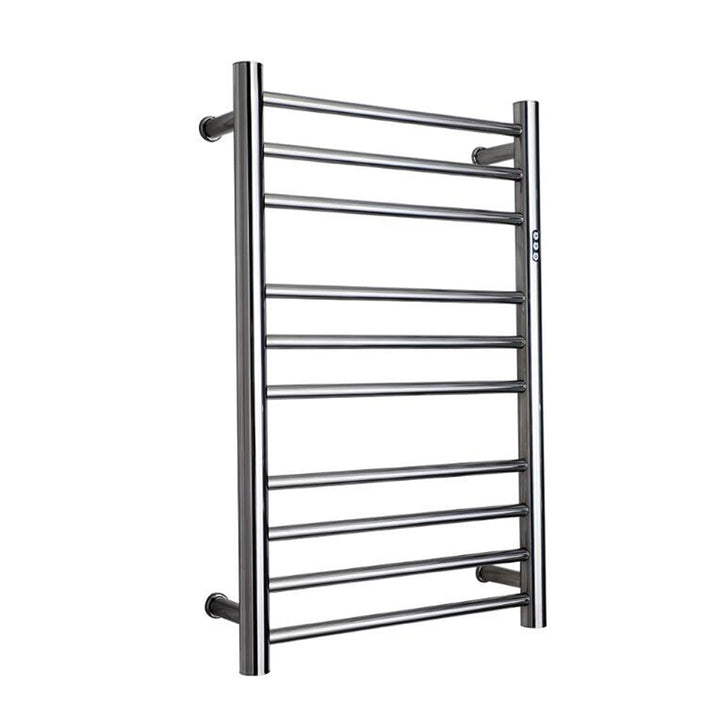
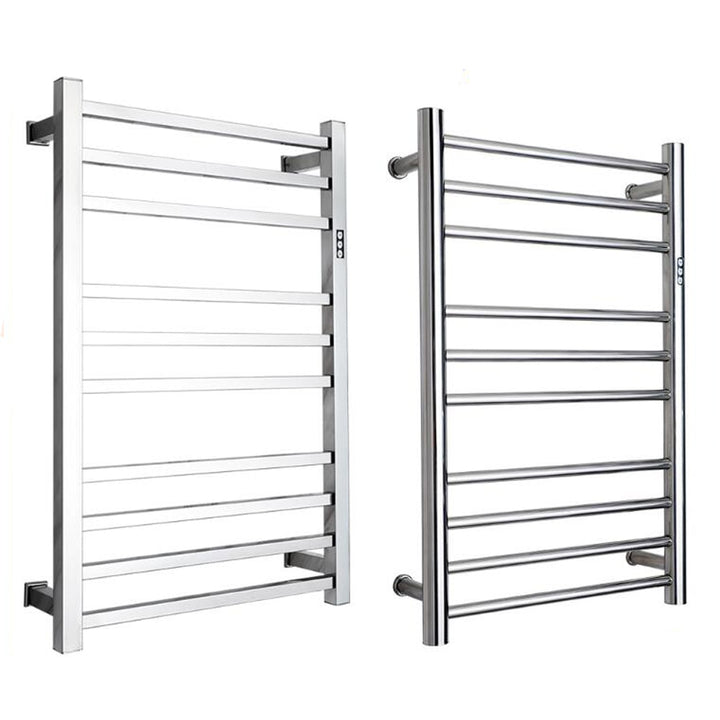
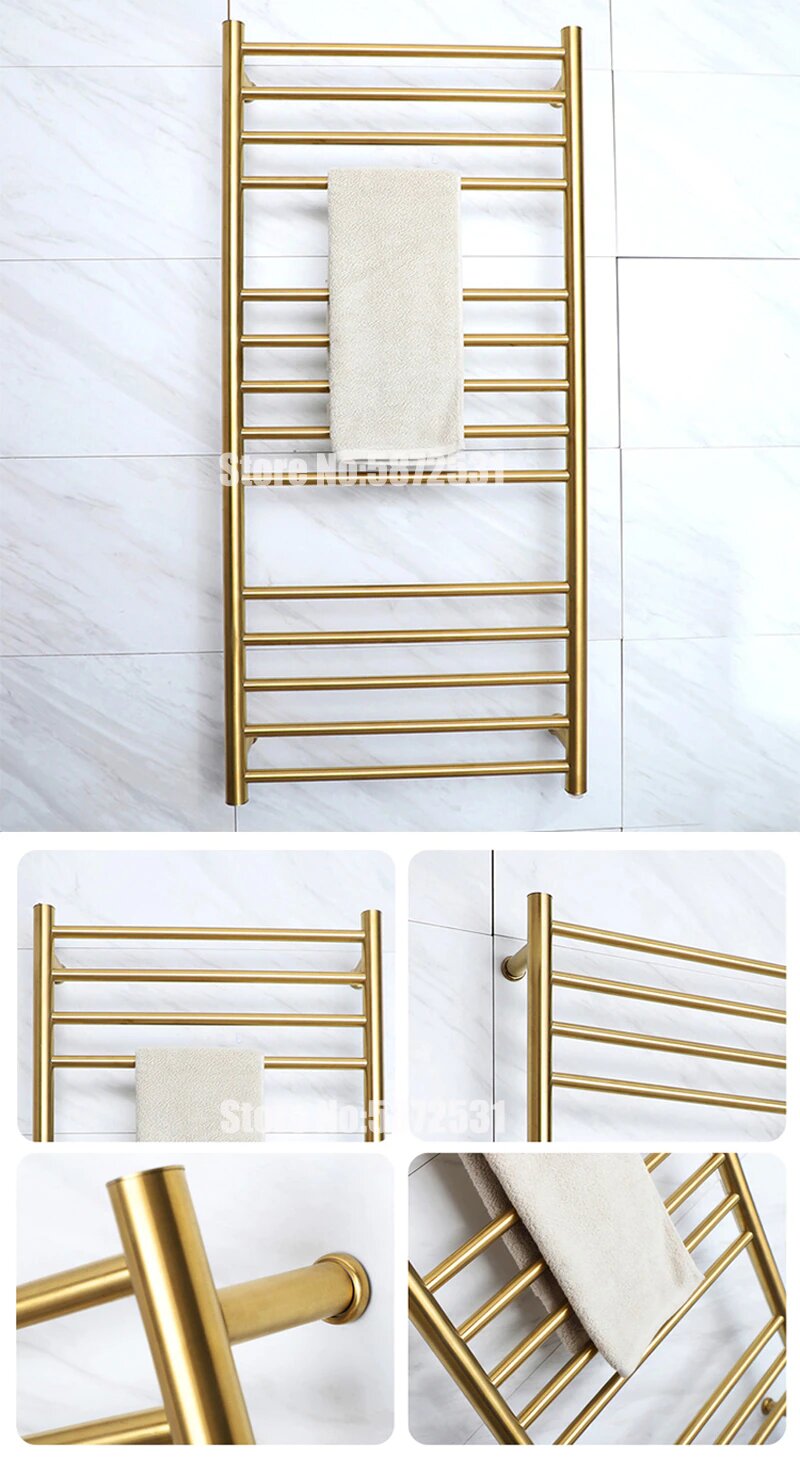
Towel Warmer Heated Towel Rack (10 Bars with Timer)
Name: Stainless steel electric heating towel rack with Timer
Material: 304 stainless steel
Size: 780X500X120mm
Voltage: 110V
Frequency: 50Hz
Power: 88W
Heating time: 5min
Temperature: 45-55℃
Waterproof rating: IP56
Packing: 1pcs heated towel rail


Installation process diagram
1. Nail the wall plug (accessory A) into the hole in the direction shown by the arrow in the figure below, flush with the wall.
2. Pass the self-tapping screw (accessory B) through the center hole of the horseshoe (accessory C) (Figure 1), and fix it on the wall plug in the direction shown by the arrow in the figure below (Figure 2).
3. Fit the four supporting legs of the towel rack to the horseshoe, and use a hexagonal wrench (accessory D) to tighten the screws on the four legs a/b/c/d at a time to completely fix them on the wall.
4. The installation is complete.

SPECIFICATIONS
waterproof level: IP56
heating time: 5 min
Type: Bathroom 304 Stainless Steel Heated Towel Warmer
Temperature: 45-55℃
Size: L
Power: 88W
Plug type: USA
No. of Tiers: Five Layers and Above
Model Number
Metal Type: Stainless Steel
Material: Metal
Installation Type: Wall Mounted Type
Features: with Timer
Feature: Eco-Friendly
Classification: Non-folding Rack
Features:
1. Multifunctional towel rack.
2.304 stainless steel material, waterproof and safe.
3. Quick heat drying, 5 minutes heating.
4. Low energy consumption and power saving.
5. Intelligent constant temperature, will not be hot.
Towel Warmer Heated Towel Rack (10 Bars with Timer)
Name: Stainless steel electric heating towel rack with Timer
Material: 304 stainless steel
Size: 780X500X120mm
Voltage: 110V
Frequency: 50Hz
Power: 88W
Heating time: 5min
Temperature: 45-55℃
Waterproof rating: IP56
Packing: 1pcs heated towel rail


Installation process diagram
1. Nail the wall plug (accessory A) into the hole in the direction shown by the arrow in the figure below, flush with the wall.
2. Pass the self-tapping screw (accessory B) through the center hole of the horseshoe (accessory C) (Figure 1), and fix it on the wall plug in the direction shown by the arrow in the figure below (Figure 2).
3. Fit the four supporting legs of the towel rack to the horseshoe, and use a hexagonal wrench (accessory D) to tighten the screws on the four legs a/b/c/d at a time to completely fix them on the wall.
4. The installation is complete.

SPECIFICATIONS
waterproof level: IP56
heating time: 5 min
Type: Bathroom 304 Stainless Steel Heated Towel Warmer
Temperature: 45-55℃
Size: L
Power: 88W
Plug type: USA
No. of Tiers: Five Layers and Above
Model Number
Metal Type: Stainless Steel
Material: Metal
Installation Type: Wall Mounted Type
Features: with Timer
Feature: Eco-Friendly
Classification: Non-folding Rack
Features:
1. Multifunctional towel rack.
2.304 stainless steel material, waterproof and safe.
3. Quick heat drying, 5 minutes heating.
4. Low energy consumption and power saving.
5. Intelligent constant temperature, will not be hot.
Towel Warmer Heated Towel Rack (10 Bars with Timer)
Name: Stainless steel electric heating towel rack with Timer
Material: 304 stainless steel
Size: 780X500X120mm
Voltage: 110V
Frequency: 50Hz
Power: 88W
Heating time: 5min
Temperature: 45-55℃
Waterproof rating: IP56
Packing: 1pcs heated towel rail


Installation process diagram
1. Nail the wall plug (accessory A) into the hole in the direction shown by the arrow in the figure below, flush with the wall.
2. Pass the self-tapping screw (accessory B) through the center hole of the horseshoe (accessory C) (Figure 1), and fix it on the wall plug in the direction shown by the arrow in the figure below (Figure 2).
3. Fit the four supporting legs of the towel rack to the horseshoe, and use a hexagonal wrench (accessory D) to tighten the screws on the four legs a/b/c/d at a time to completely fix them on the wall.
4. The installation is complete.

SPECIFICATIONS
waterproof level: IP56
heating time: 5 min
Type: Bathroom 304 Stainless Steel Heated Towel Warmer
Temperature: 45-55℃
Size: L
Power: 88W
Plug type: USA
No. of Tiers: Five Layers and Above
Model Number
Metal Type: Stainless Steel
Material: Metal
Installation Type: Wall Mounted Type
Features: with Timer
Feature: Eco-Friendly
Classification: Non-folding Rack
Features:
1. Multifunctional towel rack.
2.304 stainless steel material, waterproof and safe.
3. Quick heat drying, 5 minutes heating.
4. Low energy consumption and power saving.
5. Intelligent constant temperature, will not be hot.
Towel Warmer Heated Towel Rack (10 Bars with Timer)
Name: Stainless steel electric heating towel rack with Timer
Material: 304 stainless steel
Size: 780X500X120mm
Voltage: 110V
Frequency: 50Hz
Power: 88W
Heating time: 5min
Temperature: 45-55℃
Waterproof rating: IP56
Packing: 1pcs heated towel rail


Installation process diagram
1. Nail the wall plug (accessory A) into the hole in the direction shown by the arrow in the figure below, flush with the wall.
2. Pass the self-tapping screw (accessory B) through the center hole of the horseshoe (accessory C) (Figure 1), and fix it on the wall plug in the direction shown by the arrow in the figure below (Figure 2).
3. Fit the four supporting legs of the towel rack to the horseshoe, and use a hexagonal wrench (accessory D) to tighten the screws on the four legs a/b/c/d at a time to completely fix them on the wall.
4. The installation is complete.


